Getting Started with Composerie: Your First Personalized Product
Learn how to set up your first personalized product on Composerie, from connecting your Shopify store to launching your customizer.
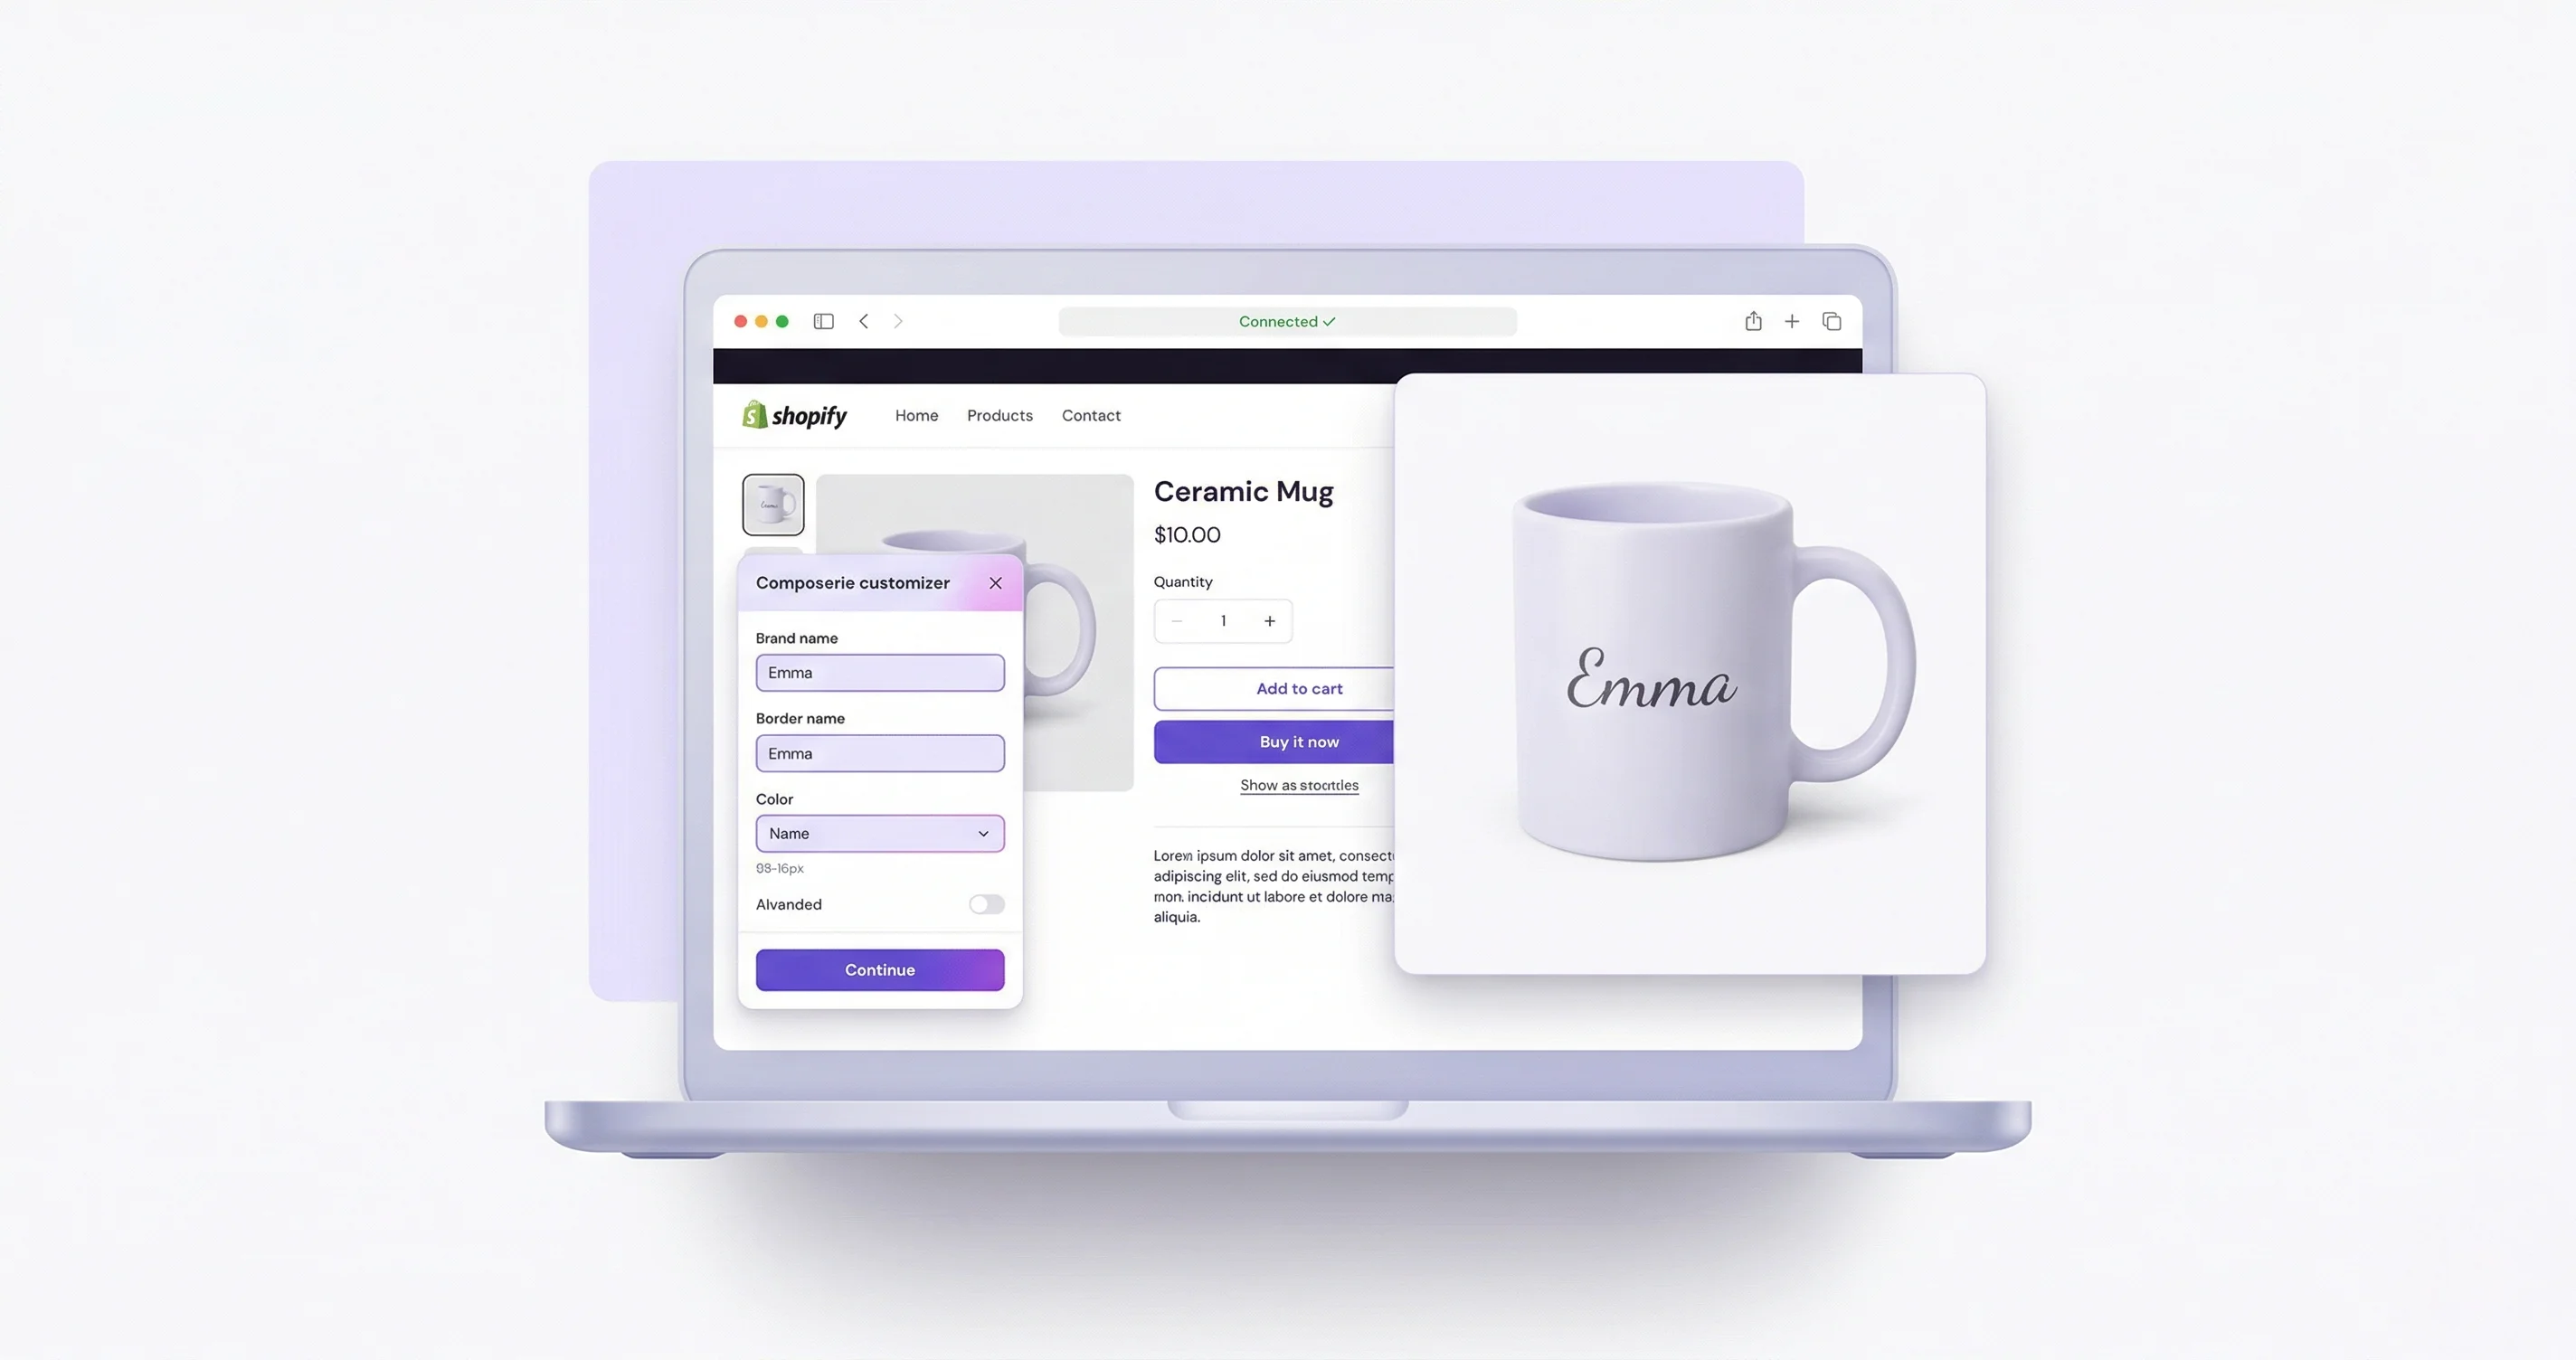
Getting Started with Composerie
Welcome to Composerie! This guide walks you through creating your first personalized product, from account setup to a live customizer on your Shopify store.
Step 1: Connect Your Shopify Store
After signing up, head to Settings > Integrations and click Connect Shopify. You’ll be redirected to Shopify to authorize the Composerie app. Once connected, your products will begin syncing automatically.
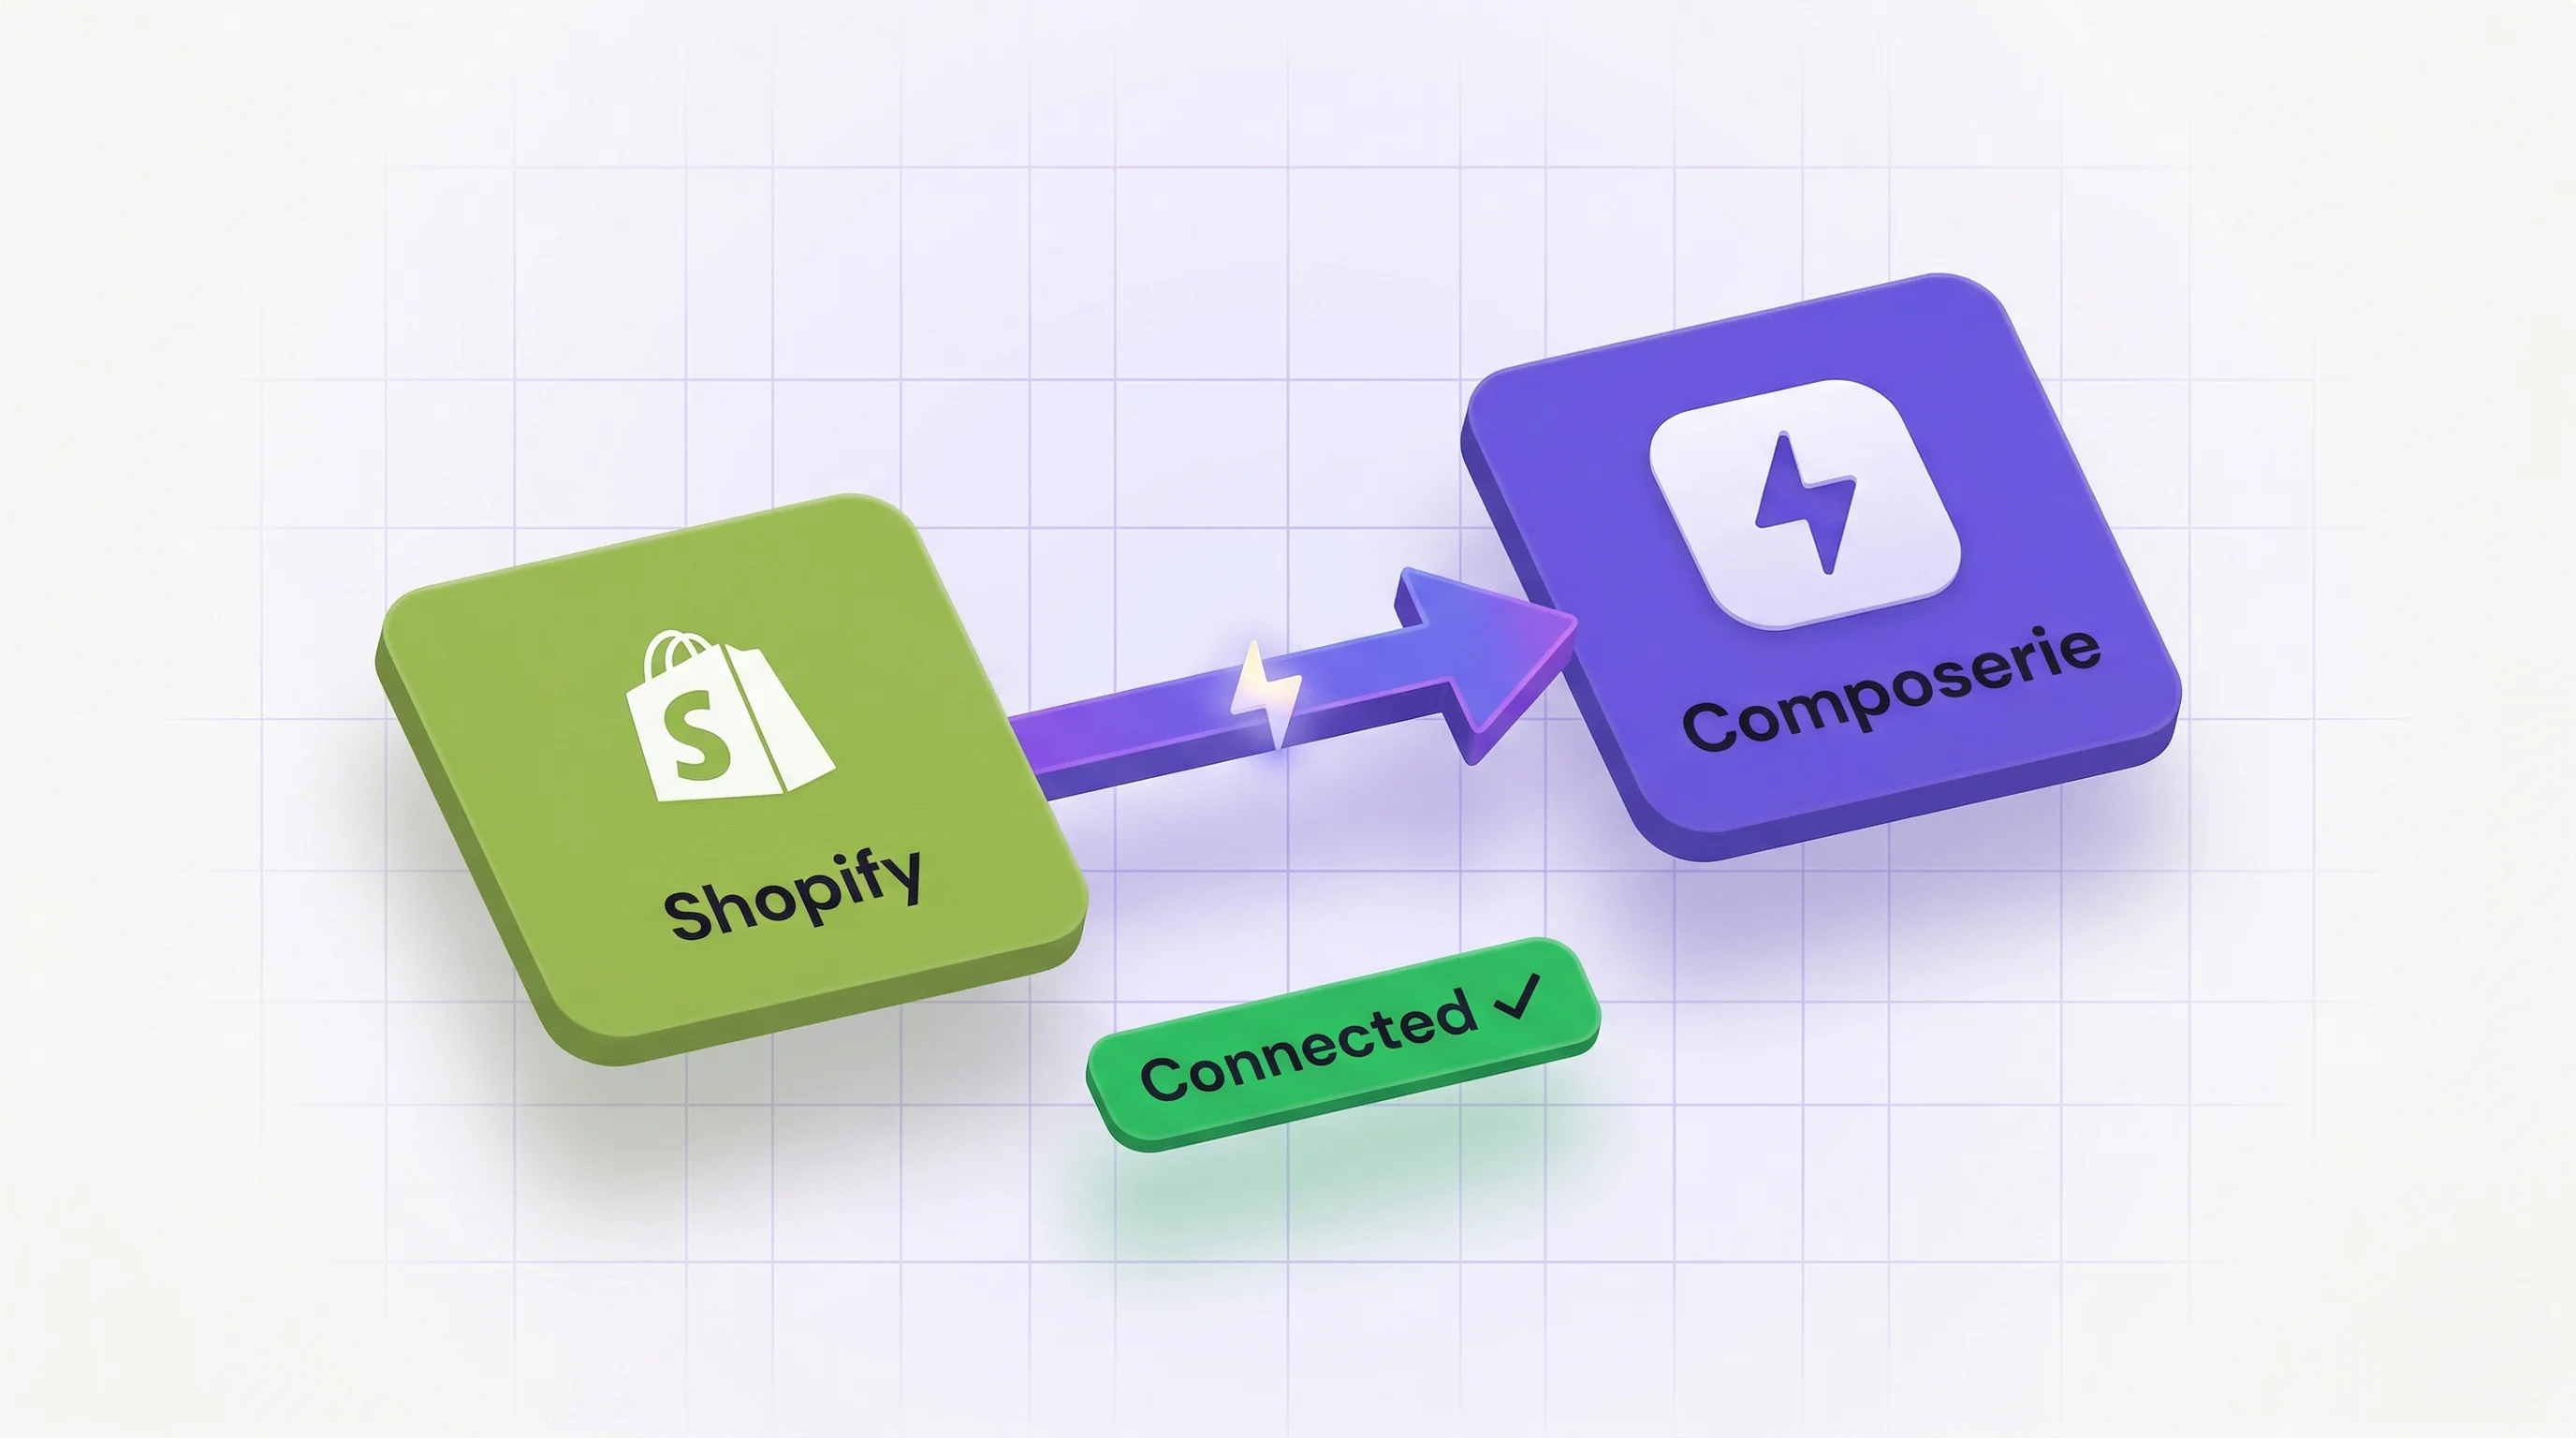
Step 2: Create a Product Template
Navigate to Products > Create New and select a base product from your catalog. The Product Wizard guides you through:
- Choose a product from your synced Shopify catalog
- Select a print provider (Printful, Printify, MerchOne) or choose to print it yourself
- Open the Design Studio to create your template
Step 3: Design Your Template
The Design Studio is where the magic happens. Add personalization fields that your customers can customize:
- Text fields: Names, dates, messages
- Image uploads: Customer photos, logos
- Color pickers: Let customers choose colors
- Dropdown selectors: Font choices, size options
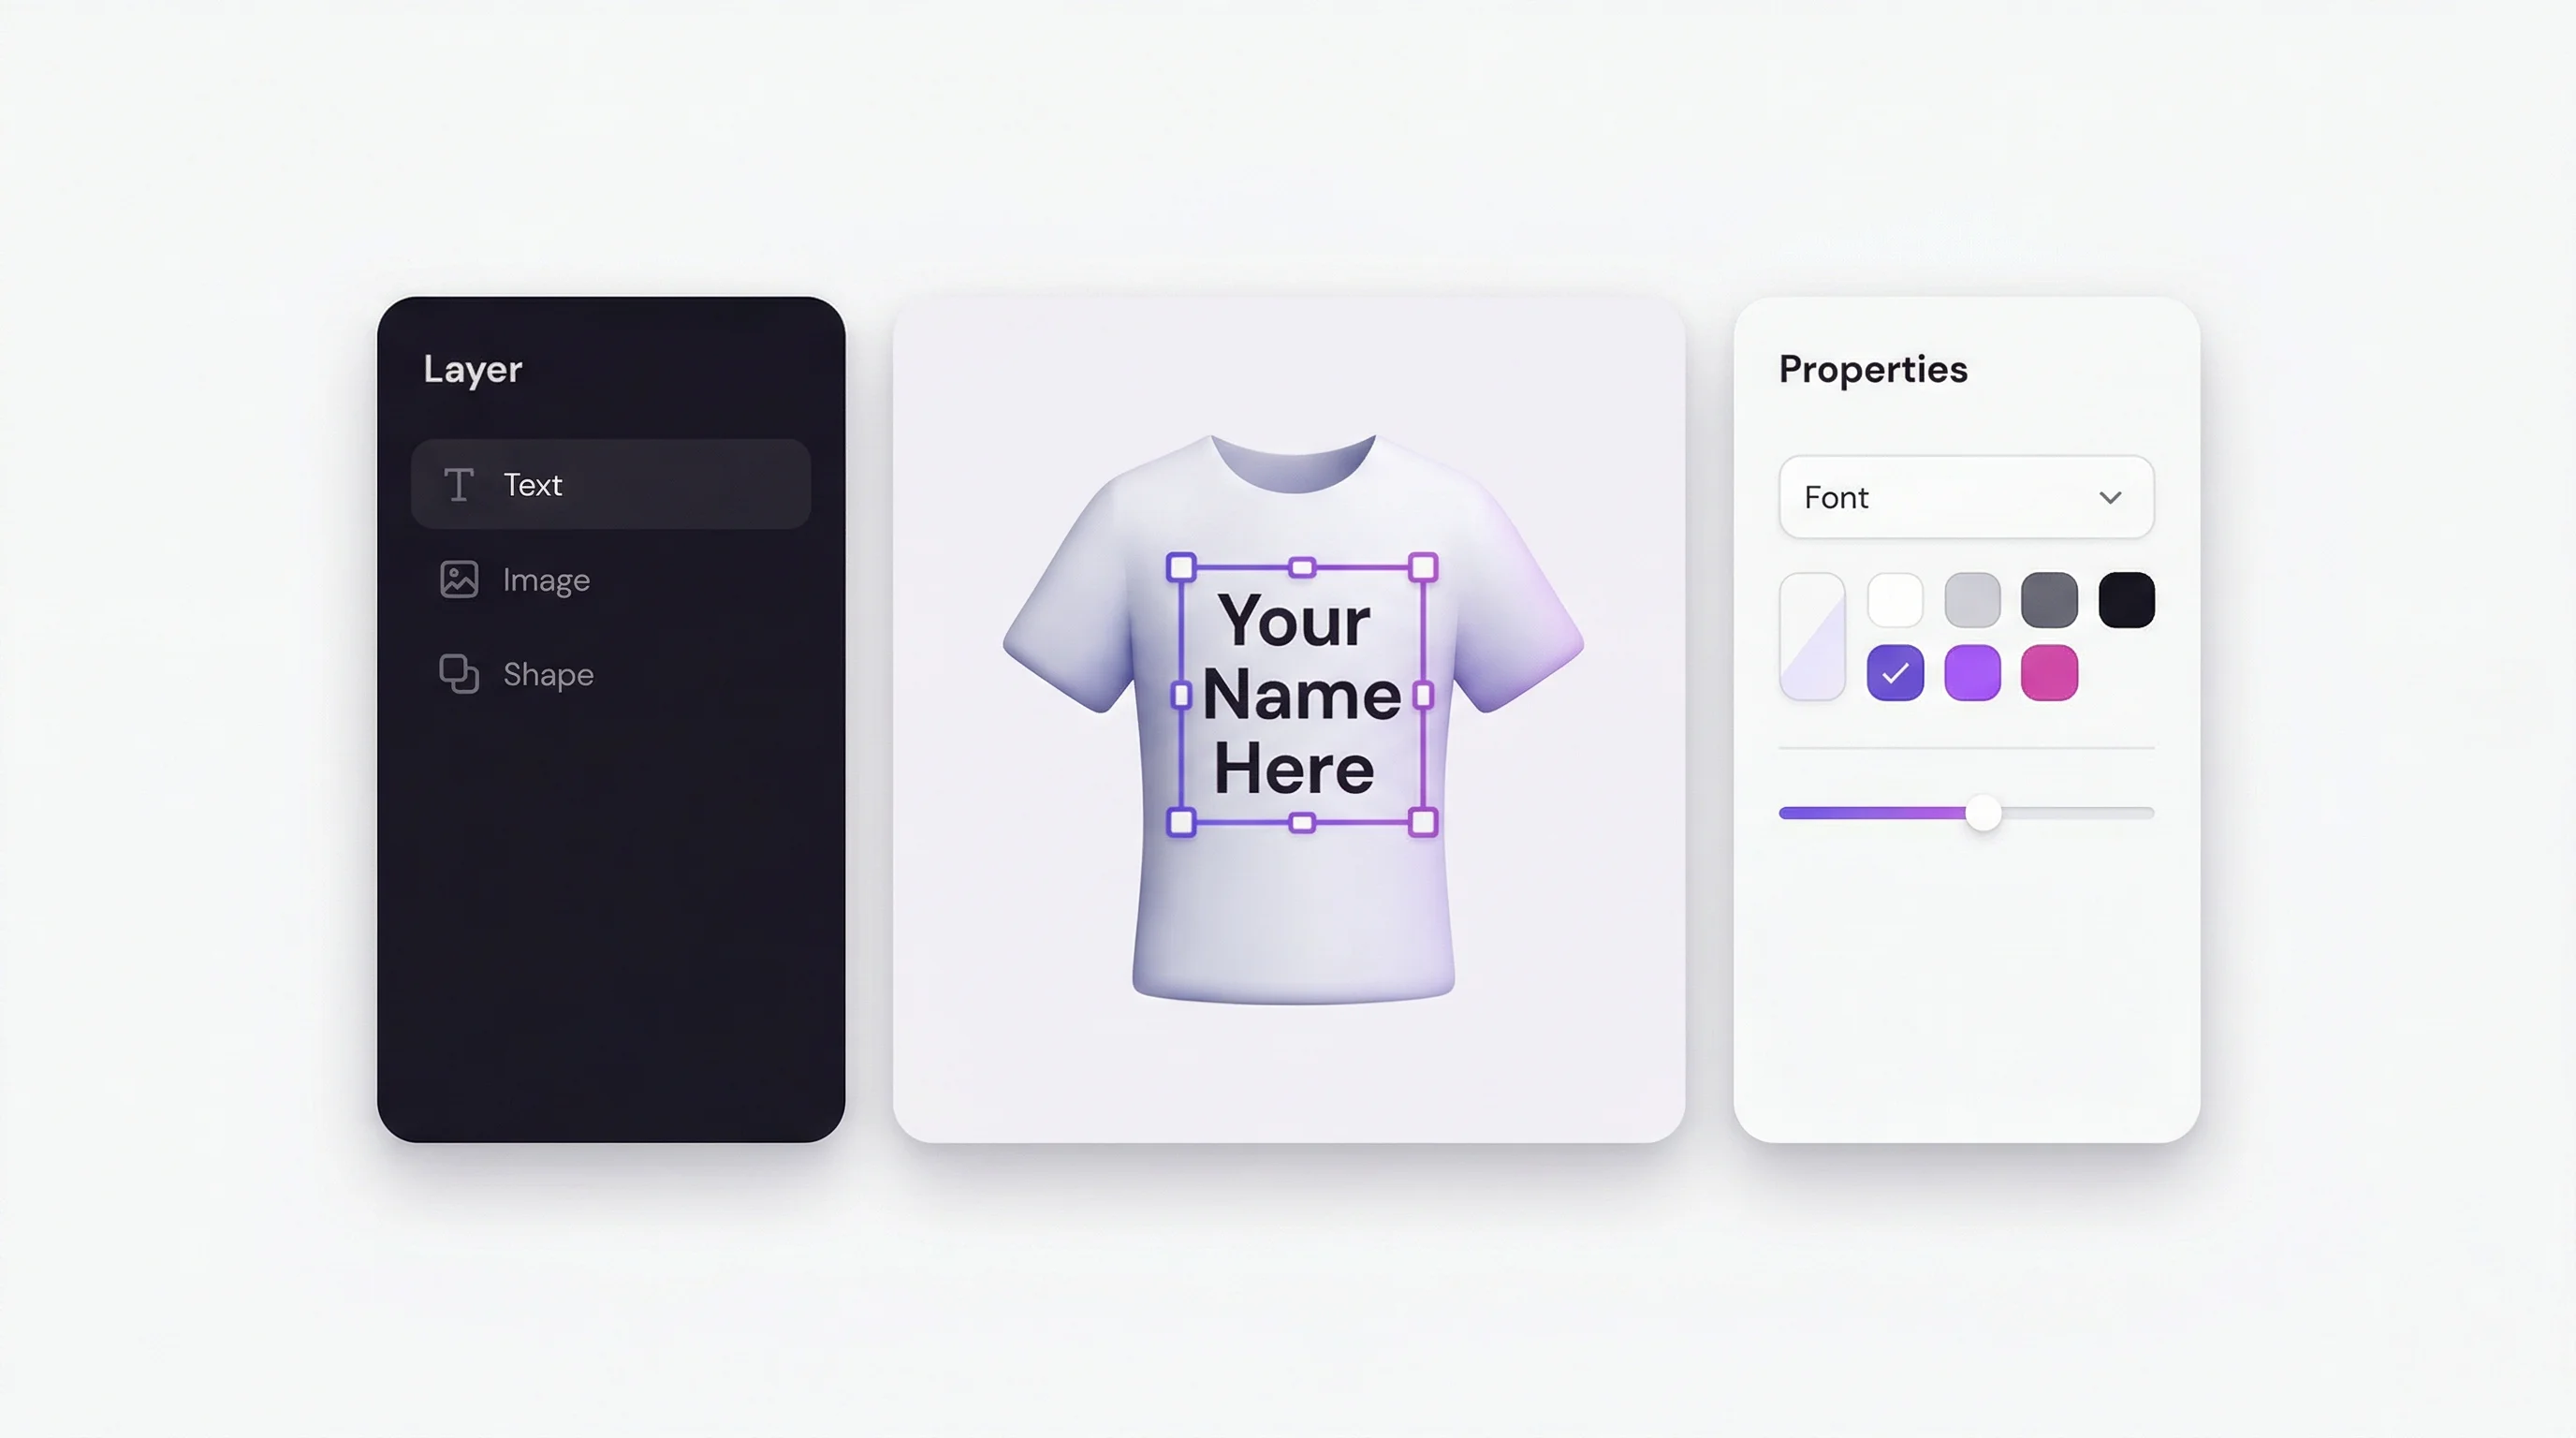
Arrange elements on the canvas, set constraints, and preview how the final product will look.
Step 4: Publish and Test
Once your design is ready, click Publish. The customizer will appear on your Shopify product page. Place a test order to verify the full flow, from personalization to print file generation.
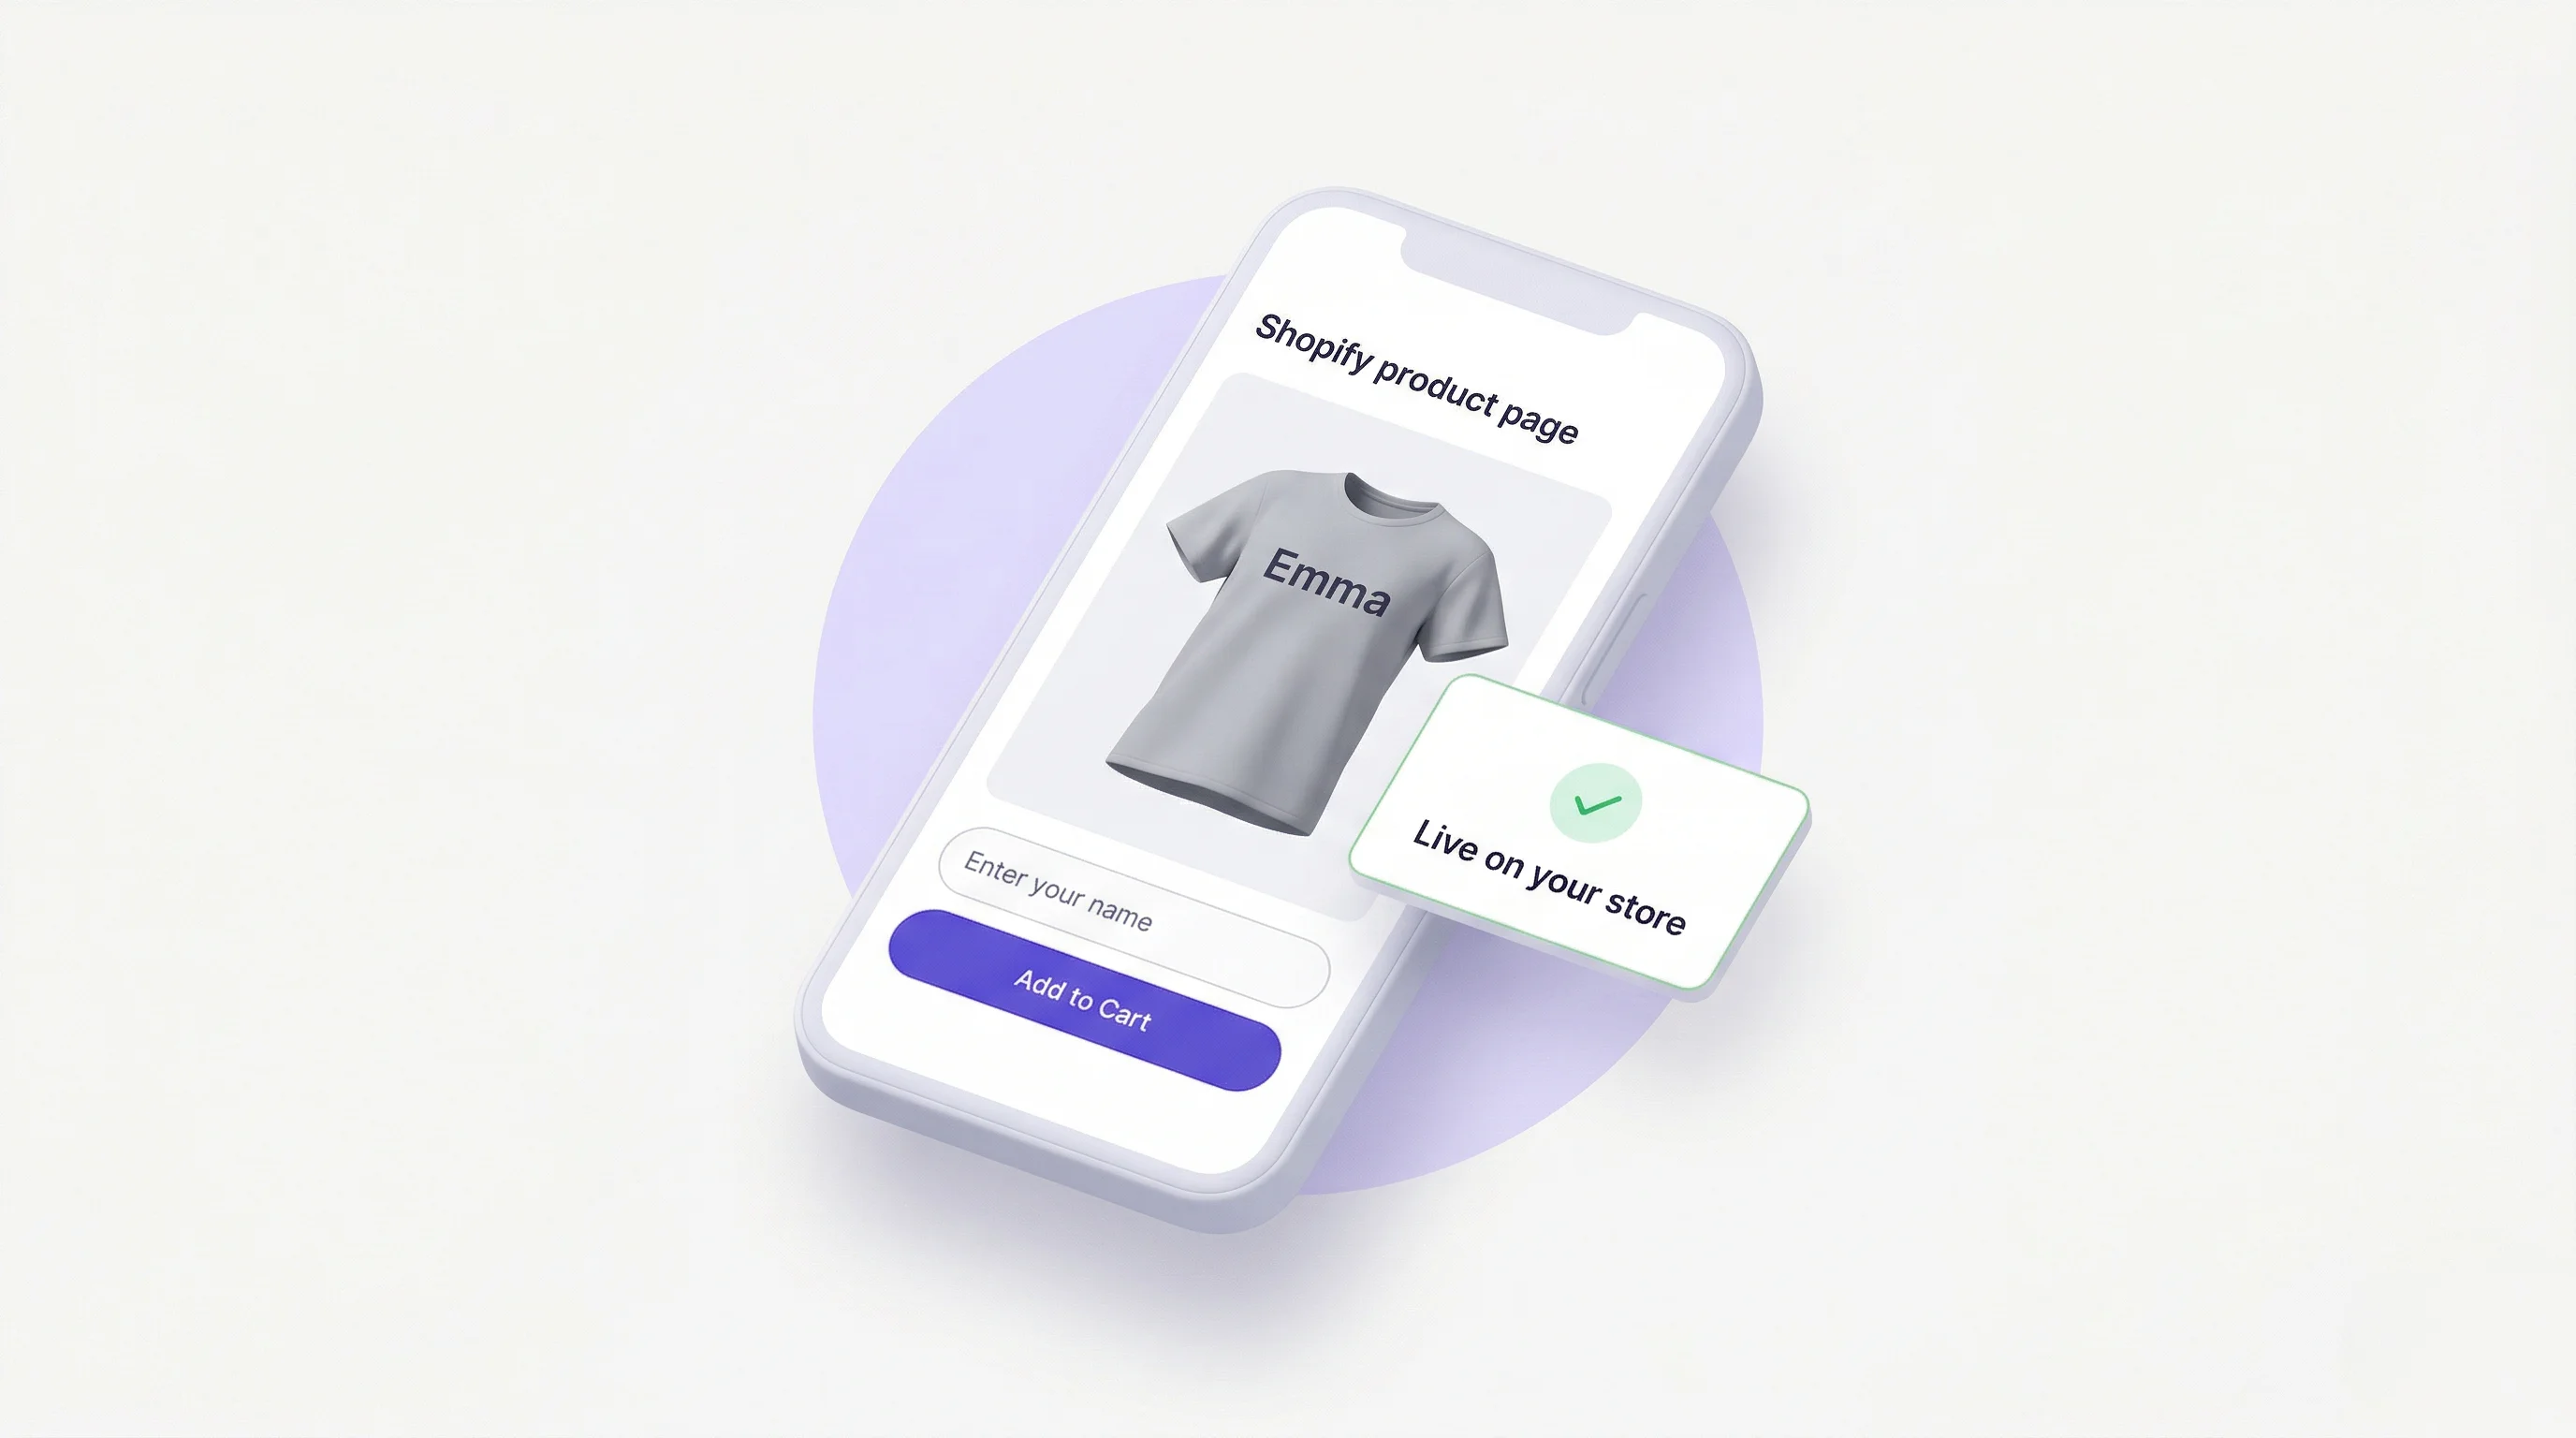
What’s Next?
- Add add-ons so shoppers can upgrade an order while they personalize it
- Open analytics to see which products and personalizations actually sell
- Invite colleagues under team roles so more than one person can work in the account
Need help? Visit our Help Center or reach out to support@composerie.com.